
 If you are creating a file of any sort then you will want it to look as professional as possible. It can make a big difference to how it is received and the impact it makes. However, for many businesses, budget and time make it difficult to use professional services to get the perfect finish.
The good news is there is another option. The plastic comb can be used to bind almost any size of the document and it is much easier than you think.
A Binding Machine
In theory, you can punch a sequence of holes in paper and push the plastic comb through them to create a bound folder. However, in reality, this is very difficult to do. Not only do all the holes have to be in the right place, but it is also essential that you slide the comb through, while twisting it, and connecting with every hole.
Binding equipment takes away this hassle. It is designed so that you can slide a comb onto the metal forks and then insert the paper you want to be bound into the machine. All you have to do is pull the lever or close the flap. The exact method will depend on the machine you have chosen. As the lever comes down holes are spiked through your paperwork and the comb follows. The machine twists the comb, allowing it to slide around the paperwork and through the holes. That’s it! Lift the handle and admire your professional-looking file.
There are several other things you need:
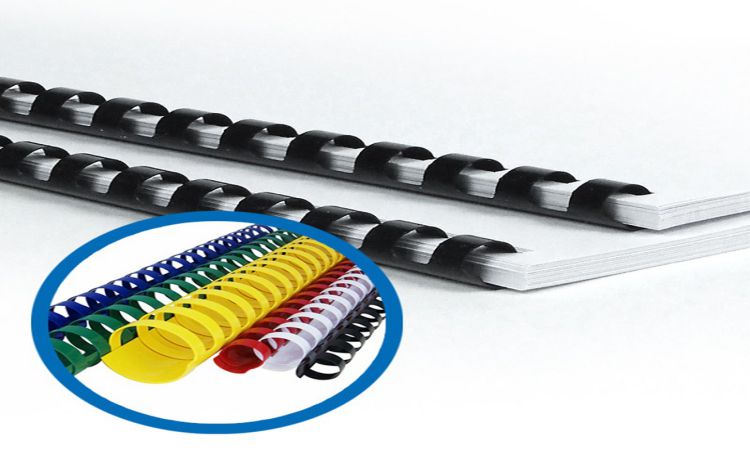
Plastic Combs
Plastic combs come in a wide variety of sizes and styles, depending on what you wish to bind. Even the number of bindings can vary. That means you need to know what size combs your machine can take and how many pages you intend to bind at the same time. The largest of the combs can handle over 400 pages!
Most combs are made to go with A4 paper but it is possible to get smaller ones for other documents.
Plastic Covers
To ensure your document looks professionally finished and to offer some protection against spills and dirt, you need plastic covers. These can be transparent plastic or colored, the choice is yours. Simply add them to the top and bottom of your paper stack and then follow the binding procedure. They will become part of the document and help it to look fantastic.
Paper
Don’t forget to check what paper your machine can handle. Most people use A4 but you can use smaller if your machine can handle it. You’ll need to print your document out first and then slide it into the binder, allowing it to be bound and look fantastic.
When you first get your binding machine you should find a space to keep it, preferably where it can be used in-situ. It is also a good idea to have a practice session, ensuring you have the routine right before you get a document that needs to be bound properly.


