
If you’ve been living with an eyesore of a wall thanks to some drywall damage, you know how frustrating it can be. But fear not because patching and repairing drywall isn’t as hard as it may seem – with the right tools, knowledge, and techniques, anyone can make their space look new again in no time. Now is the chance for those intimidated by such projects to take matters into their own hands; this blog post will cover all of the essential details on repair methods – from dos and don’ts to budget-friendly tips – so that people everywhere can have success in mending their walls. With these pointers on your side, revamping your home’s aesthetic just became simpler than ever before!
Work With Experts
One of the most effective ways to ensure success when patching and repairing drywall is to work with experts. If you’re just getting started, consider seeking guidance from experienced professionals in your area. Getting a handyman for drywall repairs can save you time and money in the long run. Professionals will know how to effectively repair damage without creating new issues, and they could even be able to provide you with some recommendations that are affordable. This option is particularly useful for large or complicated repairs that you may not be comfortable tackling on your own.
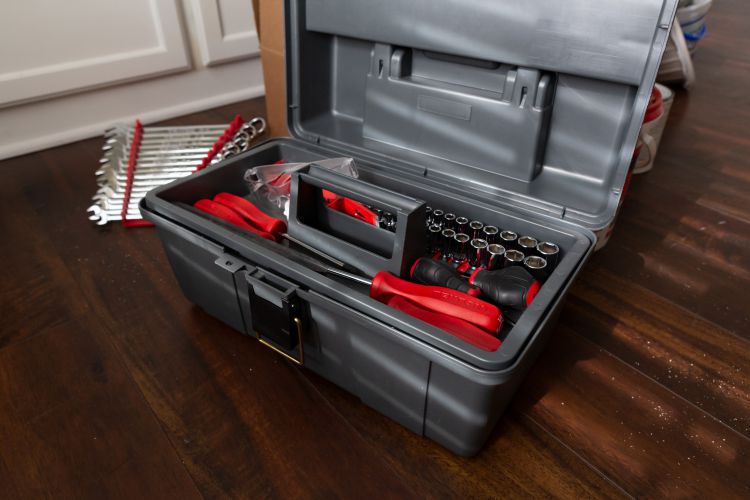
Do: Gather Your Tools
Before starting any drywall repair, be sure to gather all necessary tools. This will help save time and ensure that the process goes smoothly. Basic supplies typically include a joint compound, sandpaper, and putty knife (also known as mud), and a drywall compound. For patching larger holes, you may also need a drywall saw, repair clips, and some backing material such as mesh or wire.
Don’t: Use Tape Alone
Many DIY enthusiasts make the mistake of relying solely on tape when repairing damaged drywall. While tape can help reinforce the repair, it should not be used as the primary method of fixing a hole. Instead, the tape should be used in conjunction with other materials such as spackling paste or joint compound to create a strong, durable repair that will hold up over time.
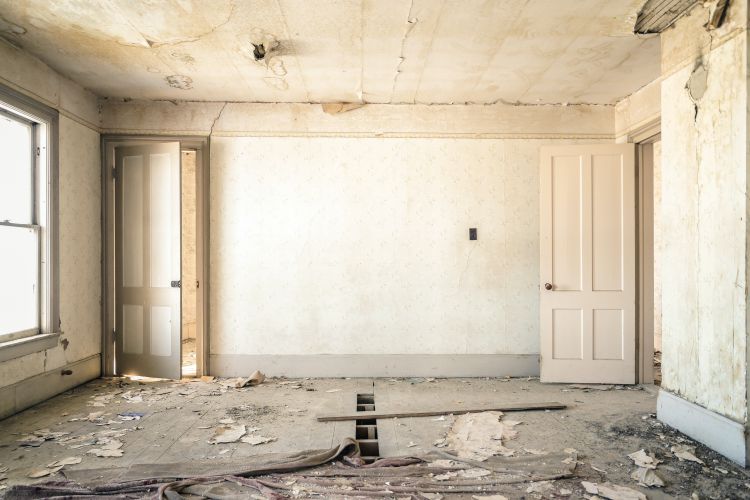
Do: Assess the Severity of Drywall Damage
Understanding the many forms of damage that might happen is essential to properly estimating the extent of drywall damage. Minor damage includes small holes and dents, which are typically the result of everyday wear and tear. Larger holes or fractures might indicate medium damage, while significant water damage or huge areas of shattered drywall could indicate serious damage. The size and nature of the damage determine the repair method required. For minor and medium damage, DIY repair is often feasible. However, severe damage often necessitates professional intervention. Remember, it’s crucial to address drywall damage promptly to prevent further deterioration.
Do: Prepare the Surface for Patching and Repair
Preparing your drywall for repair is an important step that should not be skipped. First, clean the damaged area and remove any dust or filth with a soft cloth or sponge. This helps to ensure that the patching material adheres well to the wall. For holes or cracks, cut away any loose material with a utility knife or damaged drywall and create a clean, even surface. Use sandpaper to smooth it out if there is any old, flaking paint around the damaged area. Remember, patience and care during this stage can significantly affect the result of your drywall repair project.
Do: Apply Joint Compound for Smooth Finishing
The application of joint compound, often referred to as “mud,” is a critical part of achieving a smooth finish when repairing drywall. Begin by loading your putty knife with a generous amount of joint compound. Apply the compound to the damaged area, using the knife to spread it evenly over and slightly beyond the repair. This step may need to be repeated several times for larger holes or cracks. Once the compound is applied, allow it to dry completely–this can take up to 24 hours.
After the compound has sufficiently dried, it’s time to sand the area. Sand the surface lightly with fine-grit sandpaper until it is level with the surrounding wall. Remember that the goal is to provide a seamless transition between the original wall and the damaged one. Examine the repair after dusting the area with a soft cloth to remove any remaining particles.
If there are any visible seams or ridges, or if the repair is not yet smooth, repeat the process of applying the joint compound and sanding. A flawlessly smooth surface could require many applications, but perseverance will ultimately pay off. Your repaired drywall is now ready for priming and painting, which will ultimately bring back its former beauty after the required smoothness has been reached.
Don’t: Forget to Prime Before Painting
A common mistake many make when it comes to drywall repair is forgetting to prime the wall before applying paint. Priming is a crucial step because it keeps the paint from seeping into the patch, which might result in an uneven finish, and helps seal the joint compound. Additionally, priming allows for better adhesion of the paint, improving the paint’s durability and providing a more uniform appearance. Prior to painting, make sure you always use a high-quality primer and allow it to completely dry. Skipping this step could lead to unsatisfactory results and potentially require redoing the repair work.
Don’t: Rush the Process
In the race to complete the drywall repair, many people rush through the process. However, it’s essential to understand that repairing drywall is not a quick fix, and rushing can lead to unsatisfactory results. Each step, from preparing the surface, and applying the joint compound, to sanding and priming, requires time and patience. Allow the joint compound to dry thoroughly before sanding, and give the primer enough time to dry before painting. Skipping or rushing these steps can result in a noticeable patch job or an uneven paint finish. So, slow down and take the time to do the job right – your wall will thank you!
In conclusion, patching and repairing drywall is a manageable task that anyone can undertake with the right tools, knowledge, and techniques. Remember to work with experts when necessary, gather all your supplies before starting the repair, and take the time to properly prepare the surface and apply joint compound for a smooth finish. Don’t forget to prime before painting and avoid rushing through the process – with these dos and don’ts in mind, you’ll be well-equipped to fix any drywall damage like a true professional.


