
If your shower valve is old, damaged, or leaking, it may be time to replace it. Replacing a shower valve is not a difficult task, and if you’re handy, it can be completed in a few hours. This article will provide step-by-step instructions on how to replace a shower valve. Keep reading for more information on do-it-yourself shower valve replacement.
Shut off the water supply to the shower by turning off the valve that connects to the showerhead.
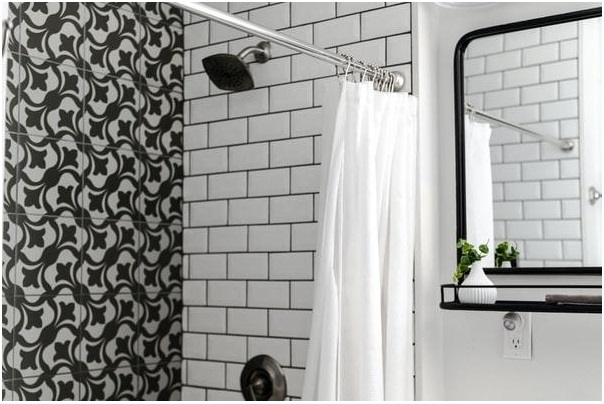
The shower valve is the device that controls the temperature and flow of water through the showerhead. When it fails, it must be replaced. The process of replacing a shower valve is easy, but it can be a little messy.
Shutting off the water supply to a shower is a fairly simple process. First, locate the valve that connects to the showerhead and turn it off. This valve is typically located near where the water pipe enters the house. If it’s difficult to find, try turning on all of the faucets in the house until you find one that doesn’t have any water pressure. Once you’ve found the right valve, turn it clockwise until it’s tight.
Turn on the water and check for leaks.
Turn on the water and check for leaks. Shut off the water to the valve by turning the knob on the faucet to “off.” Remove the handle and escutcheon (the decorative metal plate around the handle) with a screwdriver. Unscrew and remove the packing nut. Unscrew and remove the valve stem. Next, replace the old valve stem with a new one, making sure it is tight. Replace the packing nut, making sure it is tight as well. Then replace the escutcheon and handle. Turn on the water and check for leaks.
Test the new shower valve by running water through it.
When you’re replacing a shower valve, the first thing you need to do is test it by running water through it. Turn on the faucet in the bathroom and see if the water pressure is strong. If not, you may need to adjust the hot and cool water valves underneath the sink. Then, test the showerhead to make sure there’s good water pressure coming out of it. If not, you may need to clean out the nozzle or replace the showerhead.
Remove the old valve.
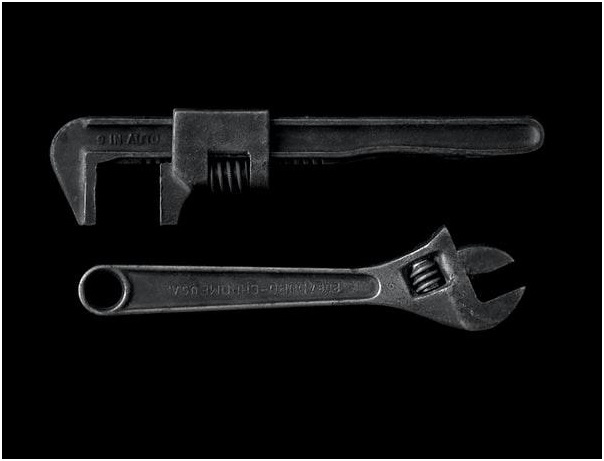
Once everything is working properly, it’s time to remove the old valve. Remove the old valve from its mounting bracket by unscrewing it counterclockwise and pulling it down and out of its hole in the wall or tub surround. If it is stuck, use a wrench to loosen it.
Install the new valve.
Install the new valve by screwing it into place clockwise and reconnecting the hoses using a screwdriver or wrench. Tighten everything securely with an adjustable wrench. Reconnect the handle by screwing it clockwise until it’s tight. Now, turn on the water main and test the fixture.
Tighten all screws and connectors.
After replacing a shower valve, it is important to tighten all screws and connectors. This ensures that the new valve is properly installed and sealed. If any screws or connectors are not tightened, water may leak out, potentially causing damage to the surrounding area.
In a nutshell, replacing a shower valve is pretty straightforward. You will need to shut off the water supply to the shower, disconnect the supply lines, and remove the old valve. Then, you will need to install the new valve and reconnect the supply lines. Finally, you will need to tighten everything up and turn on the water to test the shower. Replacing a shower valve when it is no longer properly functioning will help to ensure that you have an enjoyable showering experience.


