
 Live streams have undoubtedly become more popular than ever. After all, streaming video can generate 1200% more shares than text and images.
With every live broadcast generating tons of viewers, the industry is projected to be worth $274+ billion by 2027.
While profitable, live streaming often entails a lot of work. There’s always the vast possibility of technical glitches whenever you stream live. It’s hard to control and polish live videos, too.
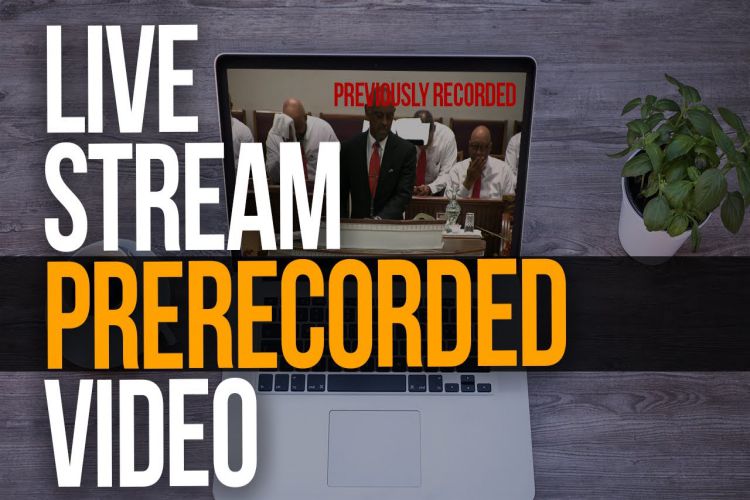
That’s why experts prefer live streaming pre-recorded videos instead.
Not sure how to do it? Worry not, for here’s an easy guide on how to create pre-recorded live stream videos.
Step 1: Plan your Pre-Recorded Video
What sets this video apart from a live event is that you can perfect it!
Of course, the key lies in how well you plan your content.
- Start by determining the purpose and concept of your video. Make sure to think of your audience when you do so. You’d want them to watch your content, after all.
- Create a script. If you’re making a video of testimonials, you don’t necessarily have to script them. However, it will help to give them an idea of what your video content is all about.
- Develop a storyboard. You can do so with the help of a storyboarding program, presentation program, or even Microsoft Word.
Step 2: Shoot Your Pre-Recorded Video
While you can shoot the video yourself, it’s best done with the help of professionals such as the Dream Engine company.
As seasoned experts, they can create professional-looking videos. After all, they possess the visual eye and technical knowledge.
With their advanced equipment, you don’t have to worry about shakiness, loud background sounds, and many other issues affecting stream quality.
Step 3: Get Started With Video Editing
Once you’ve finished shooting, it’s time to cut and piece together your multiple videos.
You can use any of these top-rated platforms to edit your video source:
- Adobe Premiere (Rush, Elements, Pro Source)
- Final Cut Pro
- ShotCut
- DaVinci Resolve
As with recording videos, DIY editing is possible. But as always, this is best left in the hands of professionals.
Remember: you’re doing pre-recorded videos because you want them to be flawless—perfect, even. Professional videographers can help you do just that.
Step 4: Stream Pre-Recorded Videos
Streaming pre-recorded live content is ridiculously easy.
Here are three popular choices:
Facebook Live Stream
Facebook has a free plan that uses open broadcaster software for its streams.
For this, you need to:
- Copy your live streaming code. You can get this under Publishing Tools > Video Library > +Live. Make sure to get your code only when you’re ready, for it will expire within 24 hours.
- Open the ‘Create Live Video’ screen. Press ‘Preview’ and keep it open until you go live.
- Download and open the OBS studio program.
- Go to File > Settings > Stream.
- Choose the options Facebook Live.
- Paste the code on the stream key field. Make sure to save your changes.
- Upload your pre-recorded video. Go to Sources, click +, then choose ‘Media Source.’ Browse the files and choose what you wish to live stream. You should see the video preview on the screen.
- Mute the Mic/Aux option. You don’t want your viewers to hear extraneous noise during your live stream.
- Click the ‘Start Streaming’ option.
- Go back to the Facebook Live tab you left open. See to it that the right video is being reviewed.
- Broadcast your pre-recorded live video by clicking ‘Go Live.’
YouTube Live Streams
First and foremost, you need to get YouTube verified. You will need to add your phone number to receive a verification code to get started.
If you’re using YouTube Mobile, you need to have about 1,000 viewers to live stream. The activation process can take as much as 24 hours, so be patient!
Unlike Facebook, streaming pre-recorded videos on YouTube is not free. It’s a ‘Premiere’ option, for which you need to pay $4.99 monthly.
Once you’re verified and paid, visit your dashboard and click the ‘Create’ button. If you’re using a mobile app, this equates to the camcorder option. You’ll find either on the top right corner of the dashboard.
With YouTube, you can do more than just schedule live streams. You can also add a description, enable or disable live chat, monetize, and promote your content on social media.
Other Paid Plan Options
With OneStream or LiveReacting, all you need to do is upload and schedule videos at a specific time. In just a few clicks, you can broadcast on multiple platforms simultaneously. You can post your content through your YouTube channel and Facebook page.
Unlike FB live, you will need to pay about $10 a month for such platforms. That said, they’re all worth the money.
As you see, streaming pre-recorded videos live is easy to do. With this, you can get more viewers without worrying about technical glitches and delayed engagement.


